

If your kitchen cabinets are looking tired and outdated, you may be considering a renovation to give them a fresh new look. One option to consider is kitchen cabinet refinishing, which involves updating the surfaces of your existing cabinets rather than replacing them entirely. This can be a more cost-effective and sustainable option, and it allows you to customize the look of your cabinets to your personal style. In this article, we will provide an in-depth guide to kitchen cabinet refinishing, including how to prepare for the project, choosing a refinishing method, and maintaining your newly refinished cabinets.
What is kitchen cabinet refinishing?
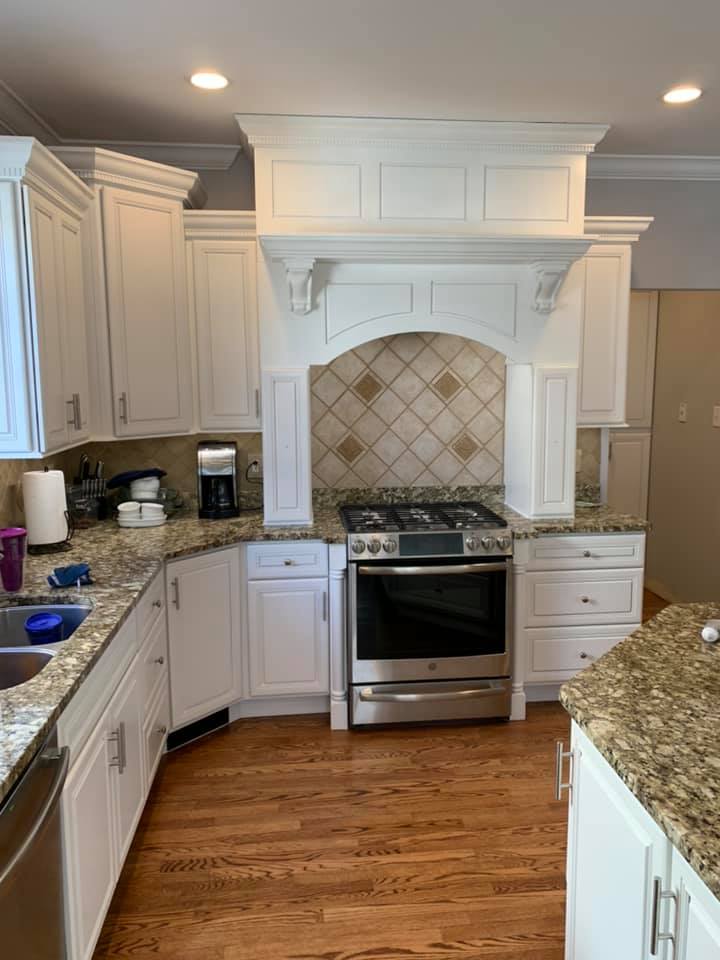
Kitchen cabinet refacing, refinishing and remodeling involves updating the surfaces of your existing cabinets by sanding down the wood, filling in any imperfections, and applying a new finish. This can be done through painting or staining the cabinets, or a combination of both. The goal of refinishing is to give your cabinets a fresh, updated look without the cost and labor involved in replacing them.
One key benefit of refinishing your cabinets is that it allows you to customize their look to your personal style. You can choose a new paint or stain color that complements your kitchen’s decor, or you can opt for a more dramatic transformation by going for a completely different finish than your current cabinets have. Additionally, refinishing can be a more sustainable option than replacing your cabinets, as it reduces the amount of material that ends up in landfills.
How to prepare for cabinet refinishing
Before you start your cabinet refinishing project, there are a few steps you should take to ensure that the process goes smoothly. First, remove all of the cabinet doors and hardware, including handles, knobs, and hinges. This will make it easier to sand and paint the surfaces, and it will also help to protect the hardware from getting damaged.
Next, clean the surfaces of your cabinets thoroughly. Use a degreaser or TSP (trisodium phosphate) to remove any grime or built-up grease, and then sand the surfaces to rough them up and create a good surface for the new finish to adhere to. Be sure to sand in the direction of the wood grain to avoid creating any unsightly scratches.
If your cabinets have any imperfections or damage, such as dents, scratches, or holes, now is the time to repair them. Fill in any dents or holes with wood filler and sand the filler smooth. For small scratches, you can use a wood touch-up pen or a similar product to fill them in.
Choosing a refinishing method
 When it comes to kitchen cabinet refinishing, there are two main options: painting and staining. Both have their own pros and cons, and the best choice for your project will depend on your personal preferences and the current condition of your cabinets.
Painting is a great option if you want to completely change the color of your cabinets or if you have damage or imperfections that you want to cover up. It is also a good choice if you want a uniform, smooth finish. However, painting does require more prep work and may take longer to dry than staining.
Staining, on the other hand, is a good option if you want to enhance the natural grain of the wood and maintain a more traditional look. Staining is also a quicker process than painting, as it does not require as much prep work or drying time. However, staining may not be as effective at covering up imperfections or changing the color of your cabinets as painting.
When deciding on a refinishing method, there are a few factors you should consider. First, think about the current condition of your cabinets. If they are in good condition with minimal imperfections, staining may be a good option as it will allow the natural beauty of the wood to shine through. If your cabinets have more significant damage or you want to completely change their color, painting may be a better choice.
You should also consider the overall style and decor of your kitchen. If you want to maintain a more traditional look, staining may be the way to go. If you want to give your kitchen a more modern or contemporary feel, painting may be a better option.
Finally, consider your personal preference and the level of maintenance you are willing to take on. Staining may require more frequent touch-ups to maintain its appearance, as it does not provide as much protection from wear and tear as painting. On the other hand, painting may require more prep work and drying time, but it is generally more durable and requires less maintenance over time.
DIY vs. hiring a professional refinisher
When it comes to kitchen cabinet refinishing, you have the option to tackle the project yourself or hire a professional. Both options have their own advantages and disadvantages, and the best choice for your situation will depend on your skills and budget.
If you decide to do the refinishing yourself, you will need to purchase the necessary materials and tools, such as sandpaper, wood filler, paint or stain, and brushes or rollers. You will also need to set aside a significant amount of time to complete the project, as refinishing cabinets is a labor-intensive process. However, doing the work yourself can save you money on labor costs and allow you to customize the project to your personal preferences.
If you decide to hire a professional, you will need to research contractors and get estimates for the work. Be sure to choose a reputable contractor with good references and a track record of quality work. Hiring a professional can be more expensive than doing the work yourself, but it can also save you time and ensure that the work is done correctly.
Tips for a successful cabinet refinishing project
Whether you decide to tackle the project yourself or hire a professional, there are a few tips you can follow to ensure a successful cabinet refinishing project.
- Choose the right materials and tools: Be sure to purchase high-quality paint or stain and brushes or rollers that are appropriate for the type of finish you are applying.
- Properly prepare the surfaces: Sand the surfaces of your cabinets thoroughly and fill in any imperfections before applying the new finish. This will help the finish adhere better and result in a smoother, more professional-looking result.
- Apply the finish evenly and smoothly: Take your time when applying the finish, and use even brush strokes or roll the paint on evenly. Avoid overloading your brush or roller, as this can create drips and an uneven finish.
- Allow plenty of drying time: Follow the manufacturer’s recommendations for drying times, and be patient. Skipping this step can result in an uneven finish or damage to the new finish.
Maintenance and care of refinished cabinets
Once your kitchen cabinet refinishing project is complete, it’s important to take good care of your newly refinished cabinets to keep them looking their best. Here are a few tips for maintaining and caring for your refinished cabinets:
- Protect the finish from wear and tear: Use trivets or coasters under hot pots and pans, and be sure to use cutting boards to protect the surfaces of your cabinets.
- Clean the cabinets regularly: Dust and wipe down the surfaces of your cabinets regularly to keep them clean and free from grime. Avoid using harsh cleaners or abrasive sponges, as these can damage the finish. Instead, use a mild detergent or wood cleaner and a soft cloth.
- Touch up nicks or scratches: If your cabinets sustain any nicks or scratches, you can use a wood touch-up pen or a similar product to fill them in and restore the finish.
Conclusion
Kitchen cabinet refinishing is a cost-effective and customizable option for updating the look of your kitchen. By sanding down and refinishing the surfaces of your existing cabinets, you can give them a fresh, new look without the expense and labor involved in replacing them. Whether you choose to paint or stain your cabinets, be sure to properly prepare the surfaces and apply the finish evenly to achieve the best results. With proper care and maintenance, your refinished cabinets can provide years of enjoyment and add value to your home.